Employee onboarding checklist for Nigerian employers
Everything to do from offer acceptance to the end of probation, including the Nigerian payroll details to collect before the first salary: tax ID, RSA PIN, PFA, NHF number and bank details.

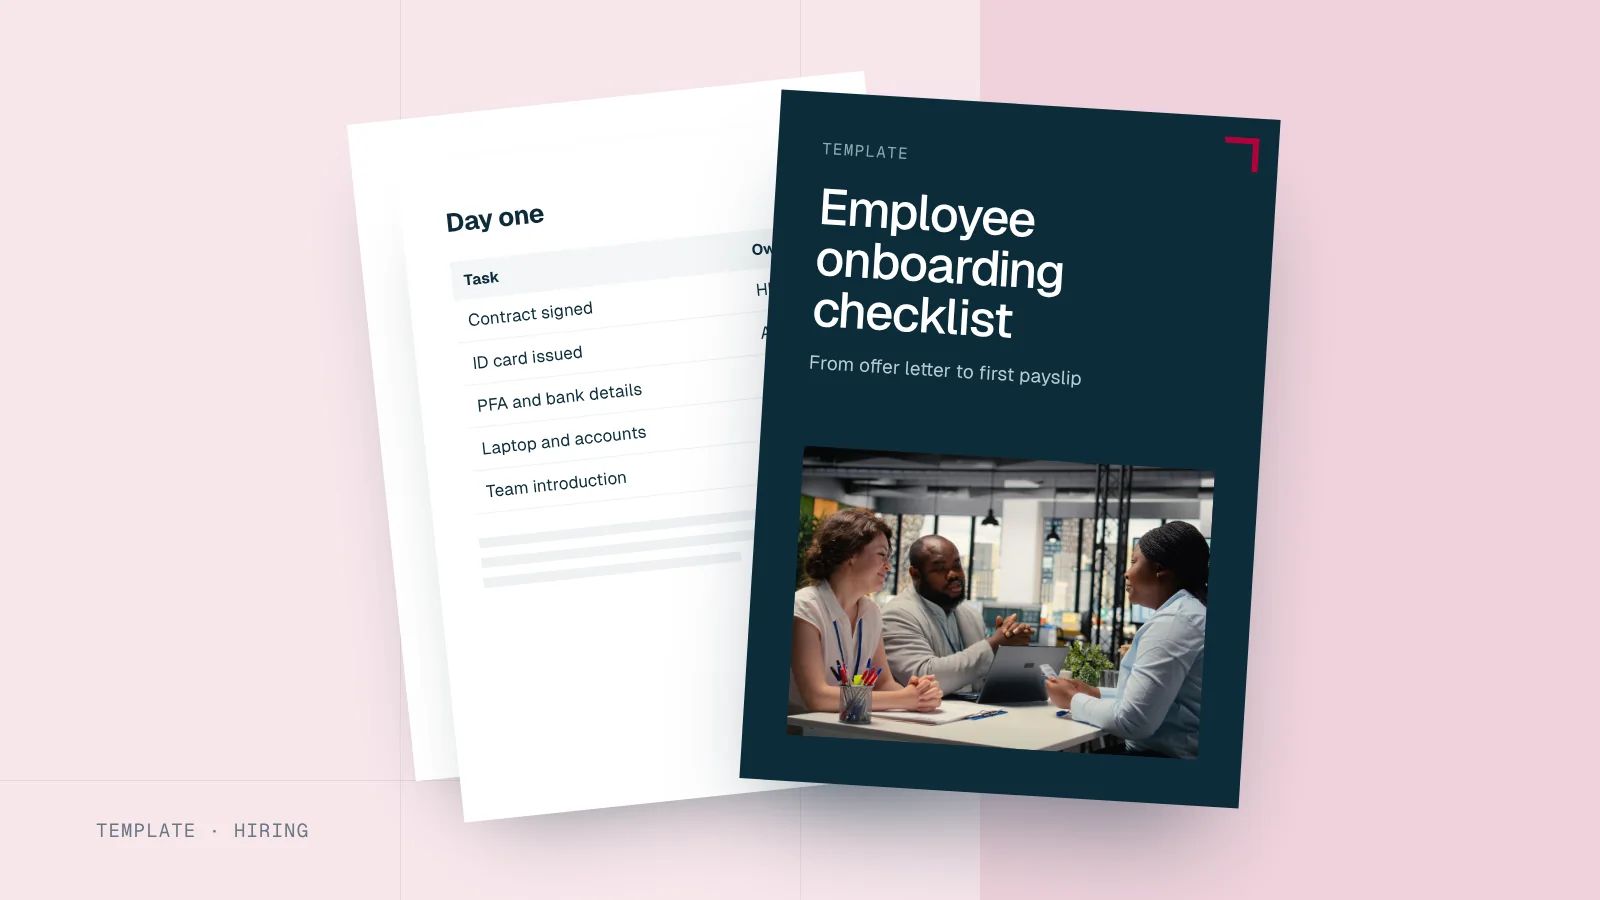
A new employee decides early whether they made the right choice. Good onboarding makes that decision easy, and it also gets the payroll details right before the first salary. This checklist covers the whole period from offer acceptance to the end of probation, with the Nigerian details that are easy to miss.
The onboarding journey
From the accepted offer to the probation review.
- Before day one
Prepare
Documents collected, payroll set up, equipment and access ready
- Day one
Welcome
Introductions, workplace tour, policies and first tasks
- First week
Settle in
Training, meetings with key colleagues, clear objectives
- First month
Check in
Review progress against objectives
- End of probation
Confirm
Formal review and written confirmation
Before day one
If a new employee is paid for months before their pension and tax details are complete, their contributions are delayed and harder to trace. Collect the details with the signed offer.
Paperwork
Payroll details
Ready to work
Ticks are saved in this browser only.
The written terms matter by law as well as practice. Section 7 of the Labour Act requires a written statement of the main terms within three months of the start date, covering pay, hours, leave and notice. Issue it on day one with the contract. Our employment letter templates include one.
Collect only what you need
Employee details are personal data under the Nigeria Data Protection Act 2023. Ask only for what you need, explain why, keep the documents secure and limit who can see them.
Day one
Welcome
Policies
Work
Ticks are saved in this browser only.
Give the handbook on day one and ask the employee to sign that they have received it. Our employee handbook template has an acknowledgement page.
The first week and month
- Training: systems, products and processes the role uses.
- Meetings: with the people they will work with most.
- Objectives: three to five for the probation period, linked to the job description.
- First payroll: check the first payslip with them, line by line. Our payslip guide explains each line.
- One-month check-in: what is going well, what is unclear, what support they need.
The probation review
Hold the review before probation ends, not after. Use the objectives set in week one, and record the outcome: confirmed, extended with reasons and a new date, or not confirmed. Confirm it in writing. If your contracts give a shorter notice period during probation, the Labour Act minimums still apply to workers covered by the Act; see termination of employment.
Onboarding staff at other sites or working remotely
New staff who start at a branch or from home need the same steps, done differently:
- Send documents digitally and agree how originals will be checked.
- Ship equipment before day one, and test access remotely.
- Name a local buddy at the branch, or a colleague who will call daily in the first week.
- Book video introductions with the people they would otherwise meet in the corridor.
Common onboarding mistakes
- Paying salary before payroll details are complete, so pension and tax are delayed.
- Leaving the written terms for later, then forgetting.
- No objectives for probation, which makes the review a matter of opinion.
- Missing the probation date, so staff are confirmed by default rather than by decision.
- Collecting more personal data than needed, such as copies of documents the role does not require.
Forms for new starters
New starter details form
Personal details: full name, date of birth, home address, state of residence, phone, personal email
Next of kin: name, relationship, phone, address
Payroll: tax identification number; RSA PIN; Pension Fund Administrator; NHF number (if any); bank name; account number; account name
Emergency contact: name, relationship, phone
I confirm that these details are correct and will tell HR when any of them change.
Signature: ________ Date: ________
Guarantor form
I, [guarantor’s full name], of [address], [occupation and employer], agree to stand as guarantor for [employee’s full name], who has been offered the role of [job title] at [Company name].
I confirm that I have known the employee for [number] years and believe them to be of good character. I agree to inform [Company name] of anything I learn that affects this guarantee.
[Set out here any financial undertaking the guarantor gives, with its limit. Take legal advice on the wording.]
Guarantor’s signature: ________ Date: ________
Phone: ________ Means of identification attached: [Yes/No]
Employee management made easy
Keep employee records, attendance, leave, payroll and performance in one connected system.
Employee management made easy
Keep employee records, attendance, leave, payroll and performance in one connected system.
Sources
Frequently asked questions
Short answers to what employers ask us most about this topic.
What documents should a new employee provide in Nigeria?
Usually a signed offer letter, means of identification, tax identification number, RSA PIN and Pension Fund Administrator, NHF number if they have one, bank account details, certificates, references and, if your company uses them, guarantor forms.
How long should onboarding take?
Onboarding starts when the offer is accepted and runs to the end of the probation period set in the contract. The most intensive part is the first week.
Do I need a guarantor for new staff?
There is no legal requirement. Some Nigerian employers ask for guarantors, especially for roles that handle cash or assets. If you do, use a clear form and verify the guarantor's details.